Gel nail reconstruction with tip: What to know
It is said that hands are the business card that reflects our way of being, which is why their care is fundamental, and which woman doesn't dream of always having them in order? Ideas for perfect hand makeup with gel nails.
Today, most women resort to the use of reconstruction and gel polish, which, unlike traditional nail polish (which tends to flake and get ruined in a short time, giving the nail a "scruffy" appearance), has a longer duration. , makes our gel nails shinier and always brighter in color, and the effect is decidedly more glamorous.
Gel nail reconstruction: How to..
This nail reconstruction treatment with gel is suitable both for women with damaged or very fragile nails, but also for those who want to beautify their natural nails, if they are too short. Some gels can be applied directly to the natural nail, while others must be applied to the artificial extension of the nail made with specific plastic tips. The reconstruction and the hand makeup in gel is also suitable for those with working hands as it is very resistant (if done well!). Nail gel by its nature adapts and penetrates even into the depressions of the nails, making them uniform, resistant and compact.
Until a few years ago, this technique was certainly less known, and also not economically accessible to everyone, today it has spread like wildfire and it is practically very easy to find professionals and non-professionals in the sector who carry out this treatment at truly competitive prices. With the equipment easily available in any personal care shop, it is also very simple to think of being able to do it "homemade". But let's see together all the steps to best implement this technique!
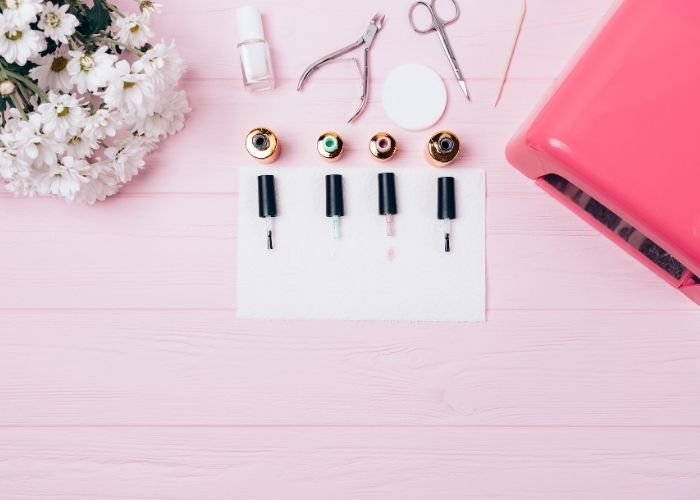
As a first step, the hands must be prepared for the treatment, they are usually cleaned with any disinfectant gel, and if there is nail polish present, it must be removed with a solvent or, if it is a gel-or semi-permanent gel, it must be filed down carefully so as not to rub beyond the layer of product and consequently ruin the nail underneath. Subsequently the nails must be further filed to give the desired shape which best suits our hands and then cut them in order to best attach the tips. With a cuticle remover we proceed to arrange and "clean" the entire area to "tidy up" our hands. You should always make sure that all these tools are disinfected before proceeding, especially if they are used on multiple people. A layer of primer will then be applied to the nails, which has the task of "holding" and making everything adhere better, and it is a very simple and quick operation because this product usually dries in just a few seconds.
Nail reconstruction of the lengths can be performed with two methods, with papers and with tips. There gel nail reconstruction with papers is a technique which however serves to lengthen the nail artificially through the support of a millimeter adhesive paper used to adapt to the different lengths of gel nails. To reconstruct a nail, in fact, you always need a support on which to create the lengths, in gel or acrylic.
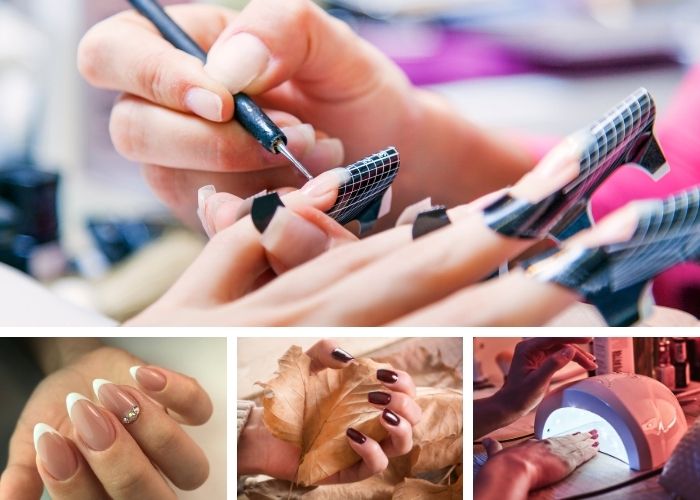
Once all the papers have been attached for each nail, we begin with the application of the gel: just one for the monophasic one, or the builder gel for the three-phase one. Then spread it over the nail and all the paper. Then you will insert your hands into the oven for 10/15 seconds. As for the tips, they come in various sizes and must be adapted to each finger to have the most natural effect possible.
They must therefore be adapted to the nails, and they must never be smaller than the natural nail, but of the same size.
To fix the gel nails you will need tip glue, applying firm but not excessive pressure. If you press too hard, in fact, glue could leak which would compromise the result. Wait a few minutes, when the tips are well glued, they will be carefully cut and shortened to the length you desire with a tip cutter and then leveled with the nail underneath, eliminating the "humps" between the nail and the tip using a large file, without damage the nail. At this point we proceed as for a normal gel reconstruction!
We then proceed to apply the layer of base gel on all the nails, taking care not to create further humps on the nail, starting from the base up to the top nail.
After applying the gel layer, we move on to choosing the color, which must be applied in the same way as the latter on all the nails, and subsequently in the UV lamp. Depending on the color chosen, you can make several coats if you are not satisfied with the intensity. Here creativity comes into play, decorations are very popular and can be done by adding glitter, glitter, studs and many other types of light points. You can embellish the nail with special nail art done with smaller brushes, the effect is truly very chic. In this case, you will need yet another coat of gel on the affected areas to "trap" the decorations and ensure that they do not come off. Once the work is finished, a final coat of polish will be needed on all the nails thanks to a particular "polishing" nail polish, which gives greater shine, and after it has dried it is degreased again with cotton and solvent. As a last step you can apply a cuticle oil to hydrate the area we have worked on.
On average, gel nail reconstruction lasts from three weeks to a month and, if you're lucky, even a month and a half, but you have to be very careful because if not done well, the nails risk "coming off" at the slightest impact!